How to Make Singing Bowls? A Journey Inside the Factory
When you hear the soothing, resonant tones of a singing bowl, it’s hard not to feel captivated by its beauty and calming effect. But have you ever thought about how these extraordinary instruments come to life?
Step 1: Choosing the Right Materials
The journey begins with selecting the best quality metals. Singing bowls are traditionally made from a blend of seven metals, each symbolizing a celestial body: gold (Sun), silver (Moon), mercury (Mercury), copper (Venus), iron (Mars), tin (Jupiter), and lead (Saturn). These metals are carefully chosen and inspected to ensure they meet the standards for crafting bowls that are both durable and resonant.
Step 2: Melting and Casting the Metals
Next, the selected metals are melted at incredibly high temperatures in a furnace. The molten metal is then poured into molds to create flat discs or ingots. This step requires precise control to achieve the right thickness and composition, which play a big role in determining the bowl’s sound quality.
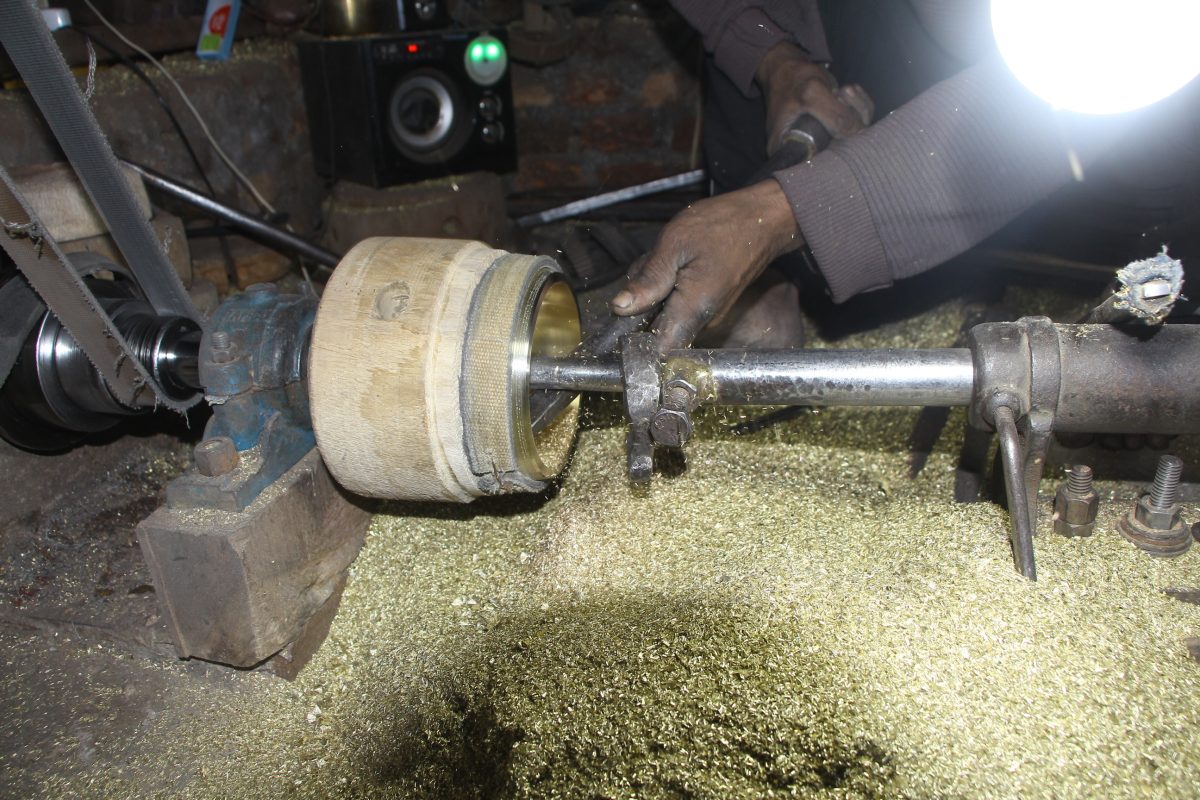
Step 3: Shaping the Bowl
Once the metal cools, it’s time to shape the bowl. Artisans hammer the discs by hand or use hydraulic presses to form the desired shape. Traditional methods often involve several rounds of hammering, with each adjustment carefully made to ensure the bowl is symmetrical and balanced.
Step 4: Annealing for Strength
To keep the metal from becoming brittle, the bowls go through annealing. This involves heating and cooling the metal to improve its malleability, making it easier to shape without losing its strength.

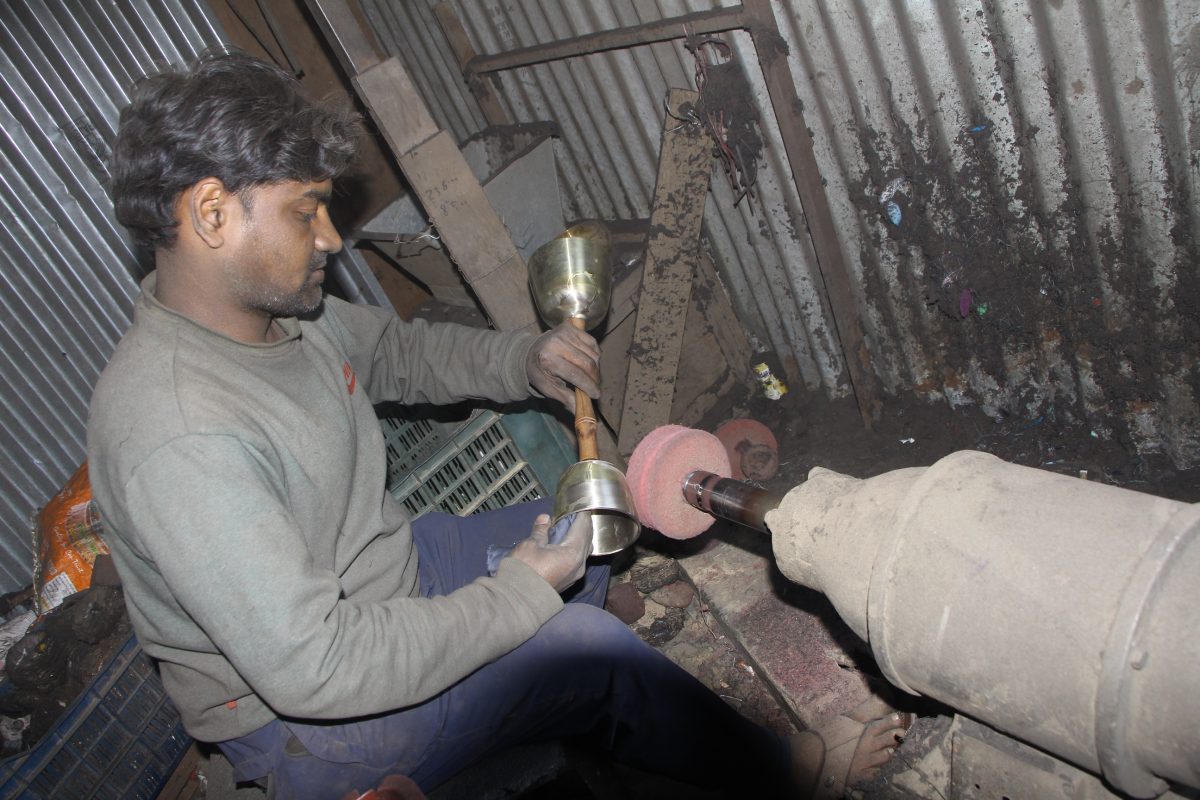
Step 5: Tuning the Bowl
Tuning is one of the most crucial steps. Each bowl is struck or rubbed to evaluate its sound. Adjustments are then made by thinning or thickening specific areas of the bowl. Expert craftsmen rely on their musical ear and experience to create the perfect tone and frequency.
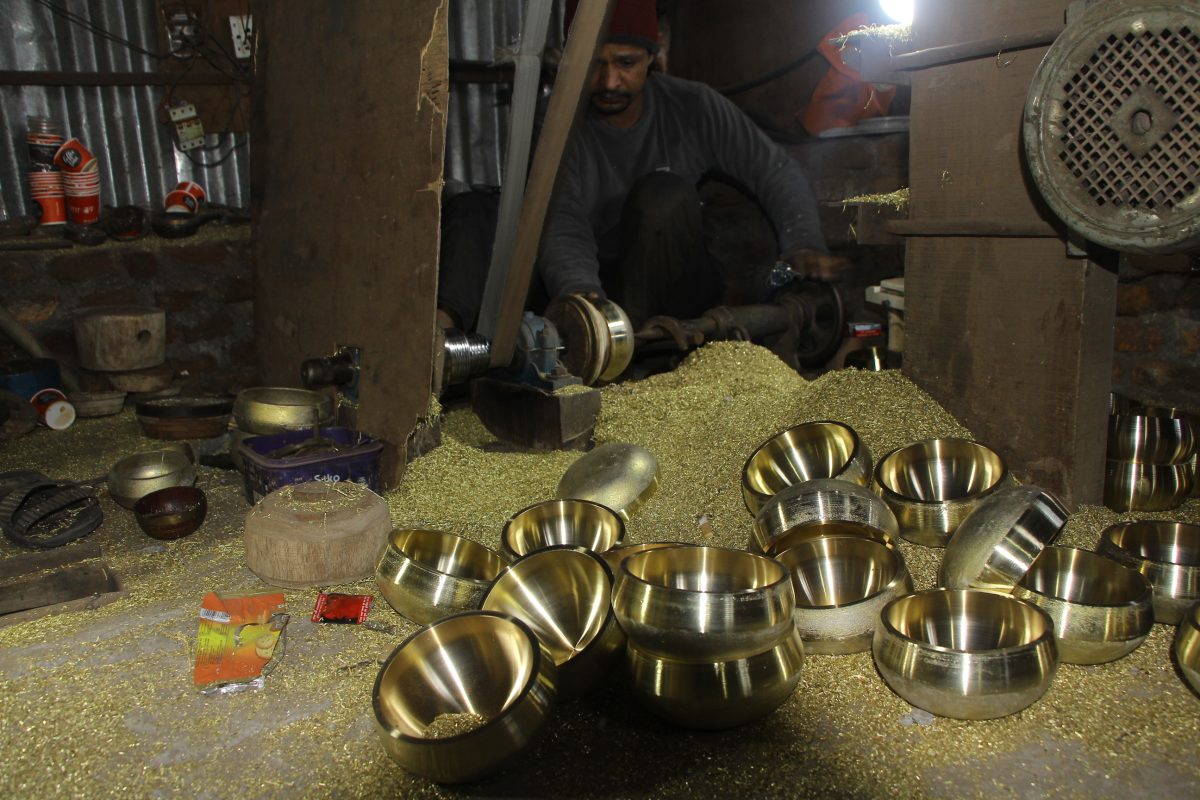
Step 6: Polishing the Surface
After tuning, the bowl’s surface is polished until it’s smooth and shiny. This not only enhances its beauty but also prepares it for intricate engravings or etchings that might be added later.
Step 7: Adding the Final Touches
Many singing bowls feature beautiful decorative patterns, such as mantras, symbols, or designs etched onto their surface. These details are often hand-engraved or applied with specialized tools, adding a personal and spiritual touch to each bowl.
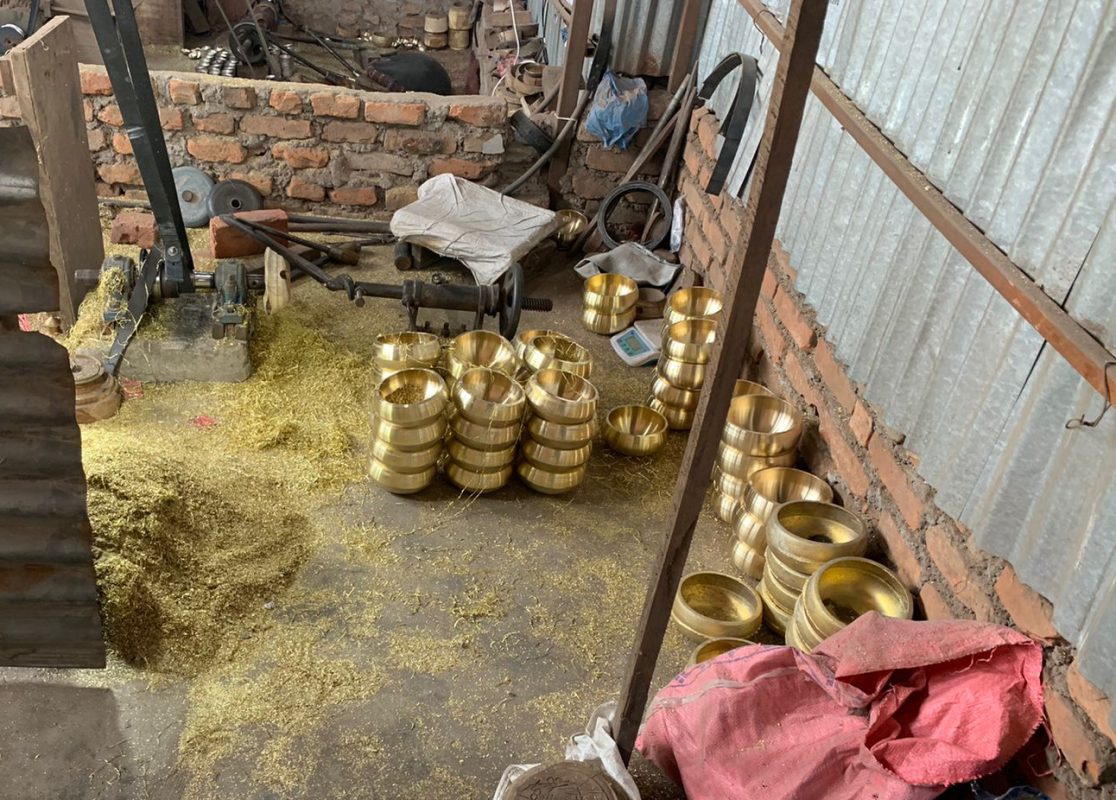
Step 8: Quality Checks
Before a singing bowl is ready to leave the factory, it goes through rigorous quality inspections. Each bowl is tested for sound quality, durability, and overall appearance to ensure it meets the highest standards.
Step 9: Careful Packaging
Finally, the singing bowls are packaged carefully to ensure they arrive safely at their destination. Many manufacturers include accessories like mallets and cushions, giving customers everything they need to enjoy the bowl’s calming tones.
Why Work with a Trusted Singing Bowl Manufacturer?
Creating a singing bowl requires expertise, patience, and a deep understanding of materials and sound. As a reputable singing bowl manufacturer, we are committed to preserving traditional craftsmanship while ensuring top-notch quality. Whether you’re a retailer, meditation practitioner, or an enthusiast, sourcing your singing bowls from a trusted manufacturer ensures authenticity and excellence.
Final Thoughts
Making a singing bowl is truly a labor of love. From carefully selecting the metals to the final quality checks, every step showcases the dedication and skill of the artisans. The next time you hear the calming hum of a singing bowl, you’ll have a deeper appreciation for the intricate journey it took to reach you.